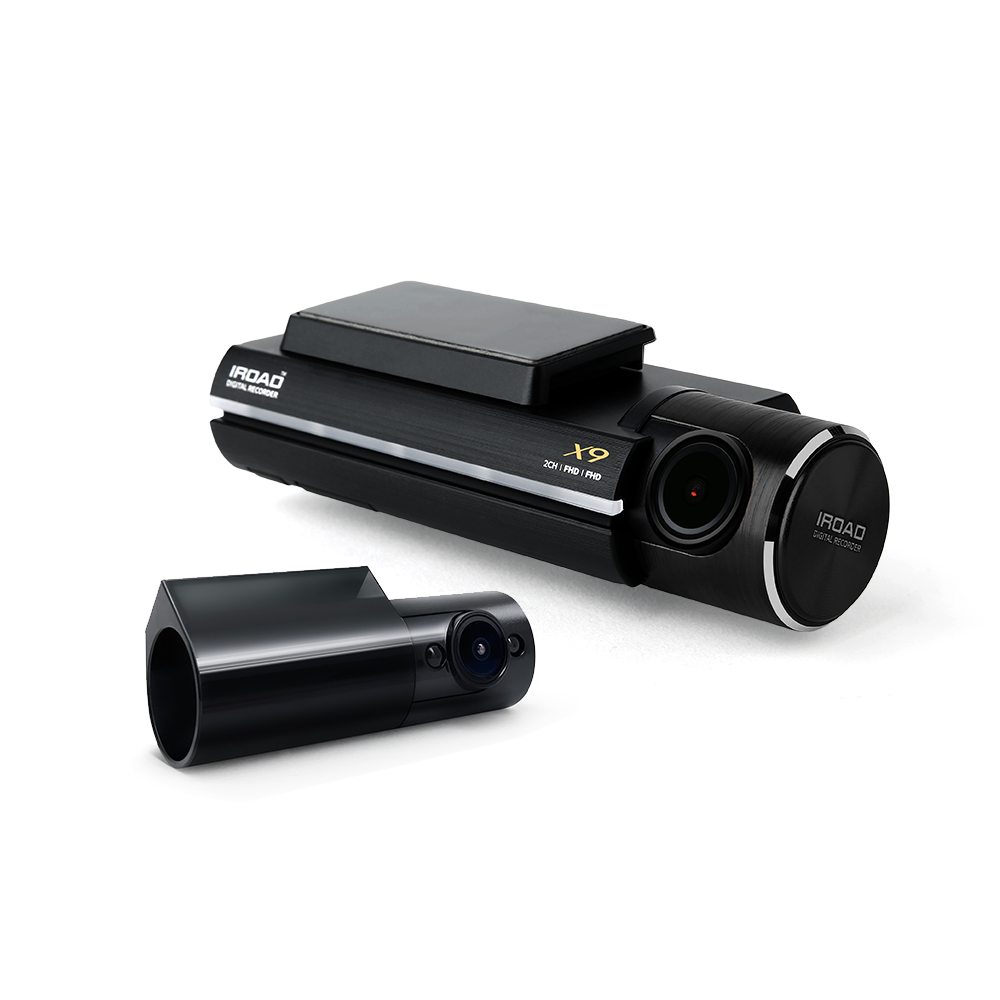
INTERIOR IR CAMERA
INTERIOR infrared dashcam for Taxi ⋅ Uber ⋅ Lyft

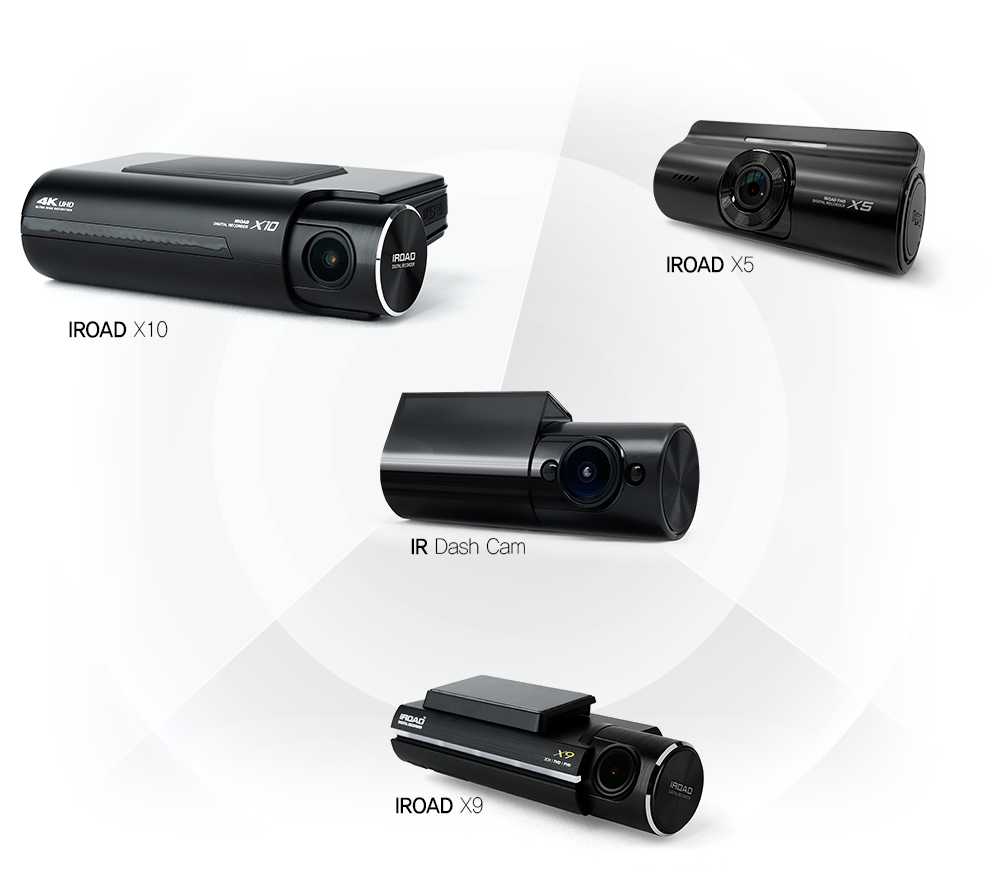
Interior IR camera for X10-2CH, X9-2CH, X5-2CH.


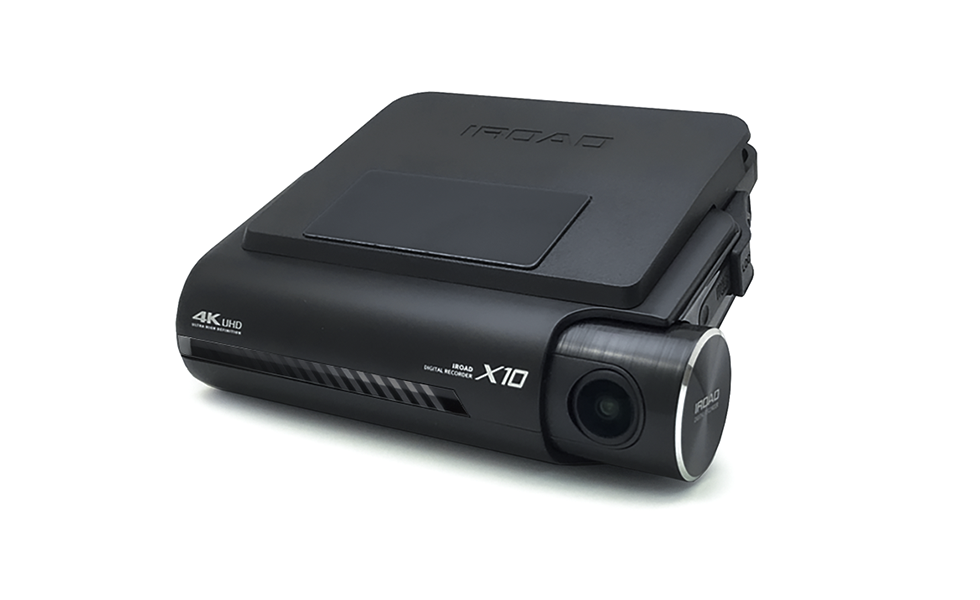


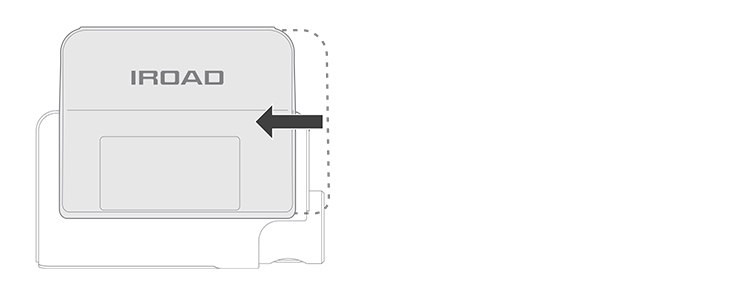
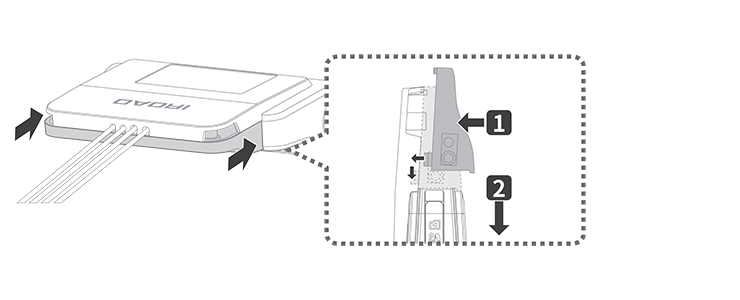
1. Adjust multi-cover and front camera of X10 and push it until it clicks into place.
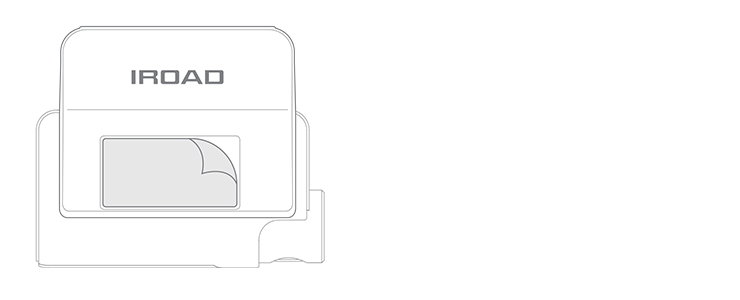
2. Remove double-sided tape film of the multi-cover and attach it to the selected location.
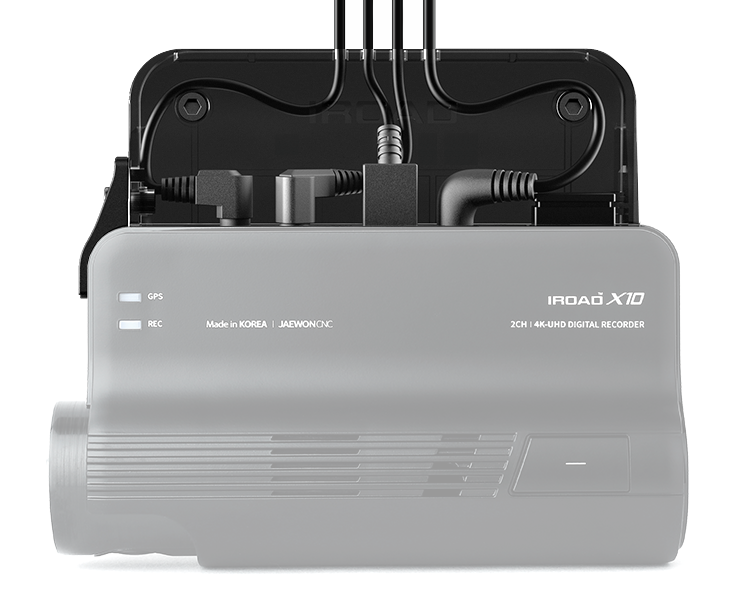
3. Place the top cover and organized the cables.
– Place the cables from left to right relative to the holes in the top cover.
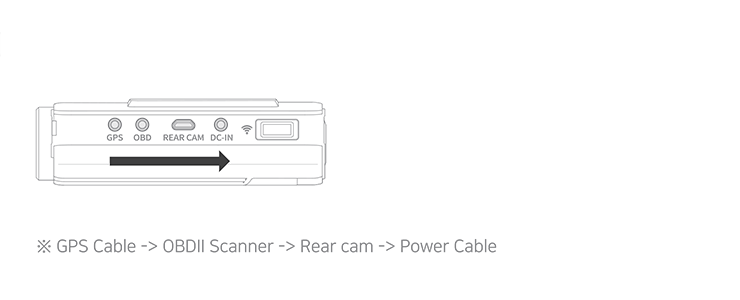
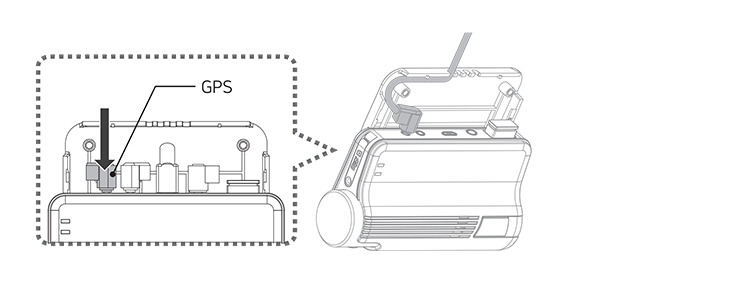
4. After connecting the GPS cable to the X10, place the cable to the first hole from the left.
– Place the GPS cable molding towards left to connect easily.
5. After connecting the OBDII scanner cable (optional) to the X10, place the cable to the second hole position.
– Place the OBDII scanner cable molding towards right to connect easily.

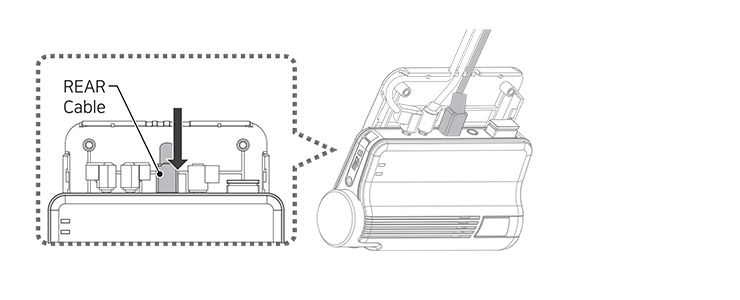
6. After connecting the Rear cable to the X10, place the cable to the third hole position.
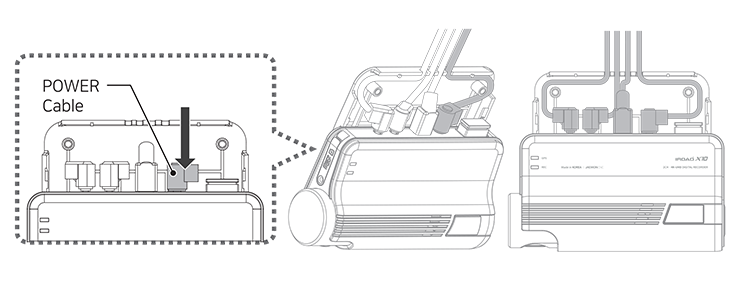
7. After connecting the power cable to the X10, place the cable to the first hole from the right.
– Place the power cable molding towards right to connect easily.
8. After connecting the cables, place the bottom cover case with the top cover together and push it to the bottom to tighten.
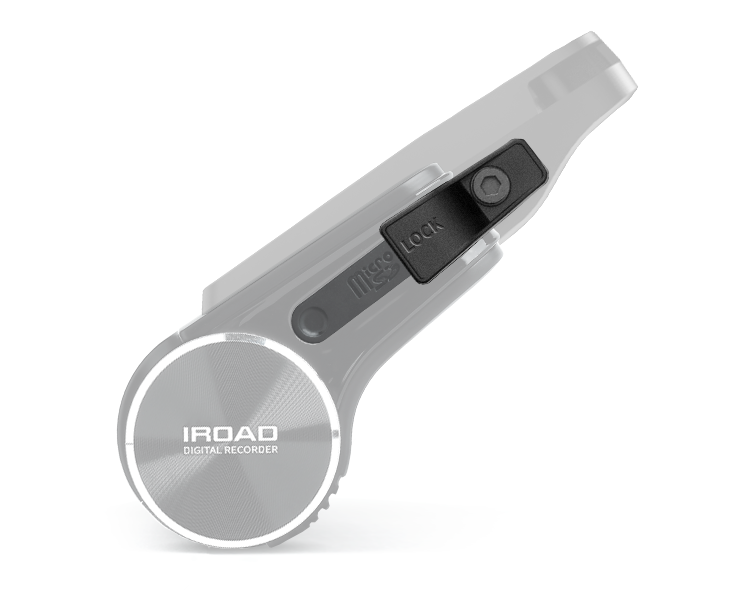
9. Tighten the screws with an allen wrench. After assembling the top, bottom cover, place the SD card cover and tighten the screws.

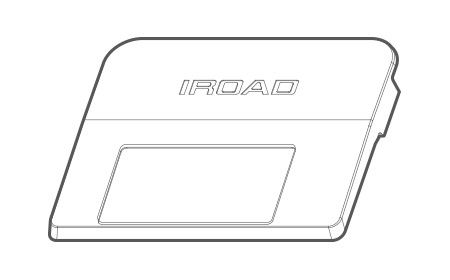
Top Cover |
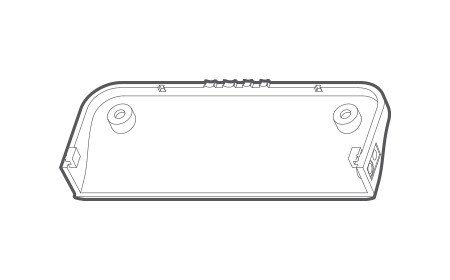
Bottom |

SD Card Slot |

Allen |
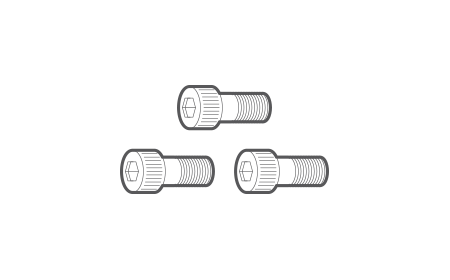
Screws |

Spare 3M Tape |
IROAD BRANCH COMPANY HONGKONG
POSIS Co., Ltd.

Tel:3589 5120
B 2F, 2-8 Kung Yip Street, Kwai Chung(Effort Ind Bldg – 力豐工業大廈) 葵涌工業街2-8號 力豐工業大廈 2樓 B室
Our Service is closed in observance of all major HONGKONG Holidays
IROAD HONGKONG SERVICE CENTER
Copyright © 2019 POSIS Co Ltd. All rights reserved